Ever since we had kids our life changed 180 degrees. With the new responsibilities, my wife and I began spending more time at home, going out less, and naturally started watching more TV at our place.
At the beginning things were quite simple, whenever we had something interesting in mind I would go to some BitTorrent website, download the files, and then transfer them to a USB drive in order to watch them on TV. But as time went my collection became so big that I started losing of what’s on my hard drive, and having to use the USB stick each time I wanted to watch something became annoying. So I started searching for solutions and ended up building my own Netflix at home.
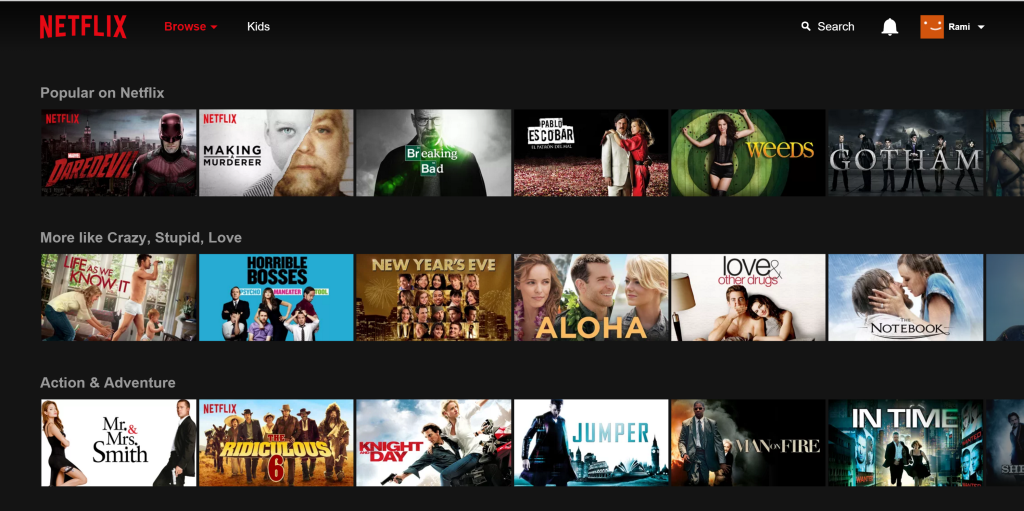
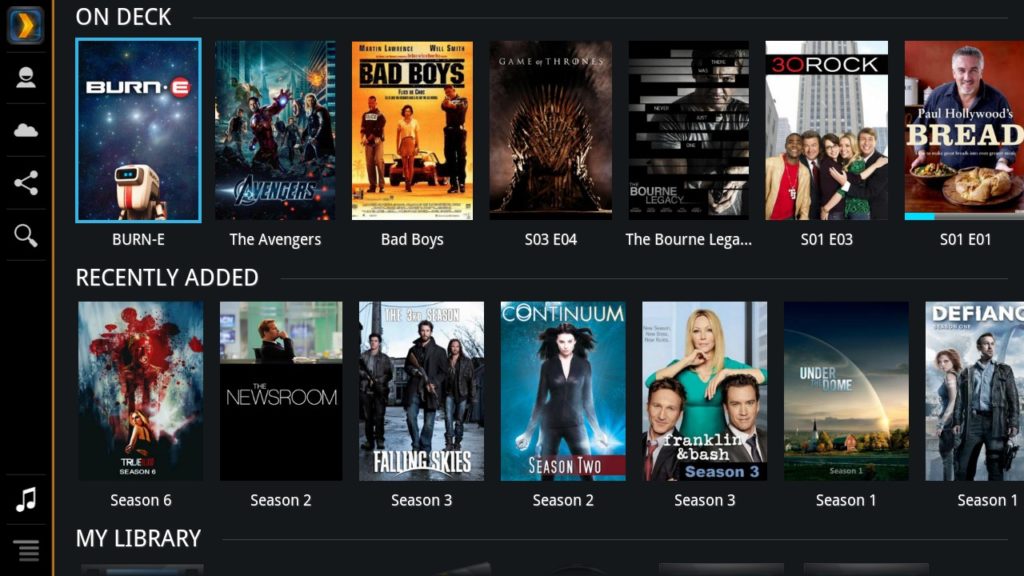
Using my mobile I currently can browse everything I have ever downloaded on a sleek and nice interface (like the one above), and it only takes a second to play whatever I want on my TV which isn’t even a smart one!
The reason I’m sharing how to do it is simply because the setup has always impressed my friends especially when they’re around to watch our favorite series, moreover it’s a convenient solution to control what your kids are watching instead of letting them browse YouTube and stumble upon horrible videos.
Anyway, here’s all you need to set it up.
A Faster Wi-Fi
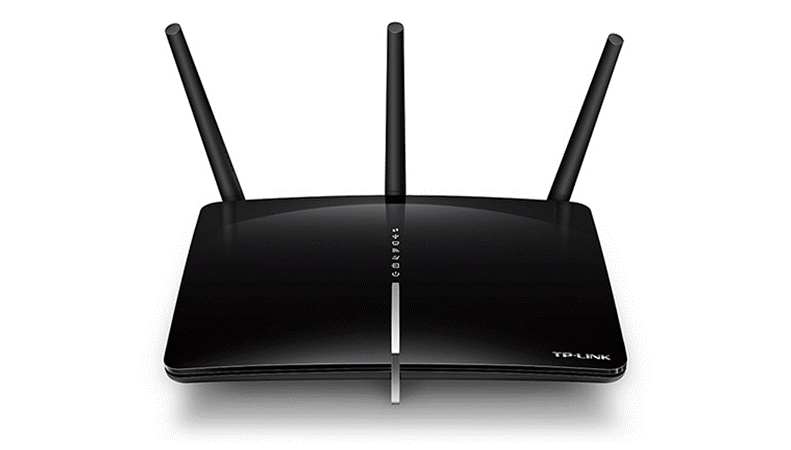
Playing multimedia over your home network means you will need a relatively fast router. In my case the media I stream within my local network is almost all in Full HD resolution, so my home router has to cope with some good amount of bandwidth, which is why I opted to get a TP-Link Archer D5. It is a 1200Mbps ADSL modem router that runs on two channels simultaneously, a 300Mbps 2.4Ghz channel that I use for my older devices, and a 867Mbps 5.0Ghz channel that I dedicated for newer devices equipped with “fast” Wi-Fi adapters (802.11ac) and this is the channel that I use for media streaming to my TV. Another important detail to add is that it has Gigabit LAN ports.
Network Attached Storage (NAS)
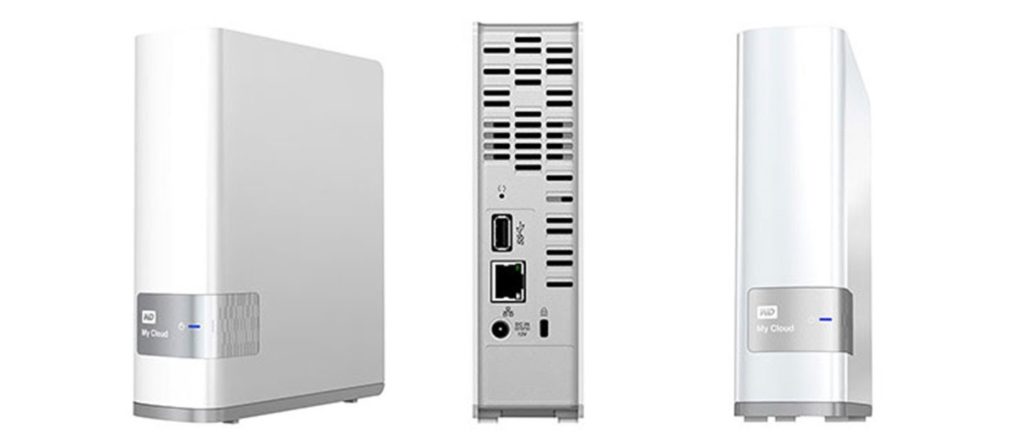
A network storage is a hard drive that you connect to your home router via eithernet in order to acess your files from any device you have. Think of it as your own private Dropbox or Google Drive. The one I have is a 4TB Western Digital My Cloud box that I bought for ~$250 two years ago. Once you go past its easy setup, just map it to your computer in order for it to appear under “My Computer” (if you are using Windows) and from there on you can easily access it just like a regular drive to store your files on it. It’s very important for this storage box to also have a Gigabit ethernet port to ensure high speed file transfer.
A NAS is not mandatory for the setup to work though and you can rely on your computer hard drive instead, but with HD movies having an average size of 3-4GB you can never have enough storage. I personally have a Lenovo Yoga 900 laptop with 256GB storage, so instead of storing downloaded files locally I transfer them to the NAS instead.
Google Chromecast
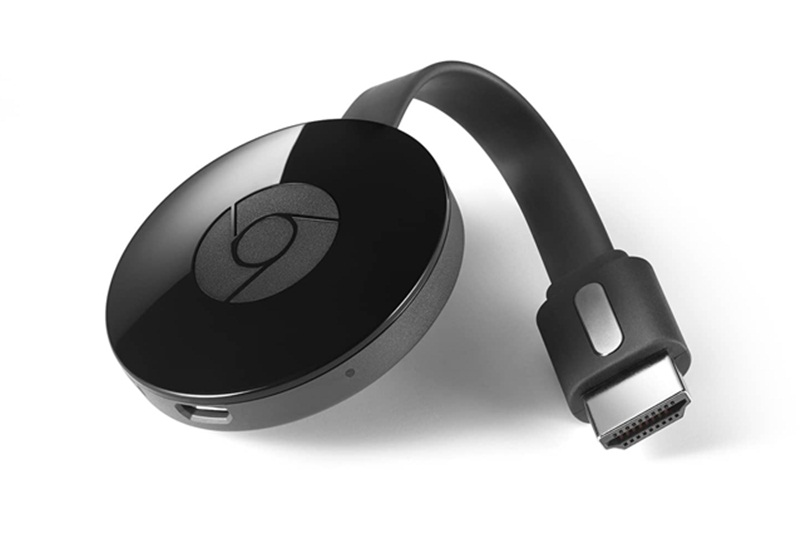
I have a 46″ Samsung TV that I bought back in 2011 when smart TVs were not really a thing back then. Chromecast is a small device that you can plug to an HDMI port in your TV in order to be able to cast or mirror the things you see on your phone or laptop to the TV. It makes watching videos off the internet (whether on YouTube or reruns from TV websites) much cooler.
Plex Media Server
This is the software that does all the magic and you can download it for free from Plex.tv for both computers and mobiles. Setting up Plex is also quite easy, once your install it on your PC open it using your browser and point it to where you have all your media files stored (in my case the storage box), then just give it a bit of time to download the needed metadata which includes the plot of each movie or series episode you have, along with their posters and rating.

Putting it All Together
This is the easiest part, just lay back and make sure your computer is powered on since that’s where the Plex server will be running, and then launch the Plex app on your mobile to browse your catalog and cast whatever you want to your TV.
What happens in the background can be summarized as follows, your mobile communicates with the Plex server on your computer, orders it to fetch the desired movie from your network storage and to mirror it on your TV via Google Chromecast.
Tweaks
- Instead of manually moving the new media files you download to the network drive, you can use small handy tools like SyncToy (using the option “contribute”) to automatically transfer newly downloaded files to the network.
- Plex also has the capability to automatically download the matching subtitles for your media file, so you can turn on that option to save time searching on SubScene and the alike.
- If you want to avoid keeping your computer on whenever you want to watch something, then you can buy a Raspberry Pi 3 (a small computer the size of a pack of cigarettes), install Plex server on it and then attach it to your router. This way you will make it act as a mini server on your network.
- To avoid manually checking for new episode of your favorite series you can use special BitTorrent clients such as DuckieTV that can do this automatically for you.
- Since Plex allows creation of multiple channels with different content each, I created a special channel for my little boy with cartoon and animated stuff and just taught him how to use the Plex App on his iPad. This way I can control what he watches and avoid these sick videos on YouTube.
And this is pretty much it! If you intend to build something similar and needed some help then just let me know in the comments.


